Open the App
The Cypress app is where you'll spend most of your time while writing tests: it runs your tests in a real browser as you work, re-runs them automatically when you save a file, and lets you travel back through each step of a test to see exactly what happened. Opening the app for the first time also sets up your project for you: the Launchpad generates the configuration and folder structure Cypress needs, so you can go from installation to a running test without writing any config by hand.
cypress open
Open Cypress from your project root using the command for your package manager (npm, Yarn, pnpm, or Bun):
- npm
- Yarn
- pnpm
- Bun
npx cypress open
yarn cypress open
pnpm cypress open
bunx cypress open
After a moment, the Cypress Launchpad will open.
Add an npm script
Typing the full command works fine, but adding Cypress to the scripts field
in your package.json gives you a shorter command that's consistent for
everyone working in the project. Teammates don't need to know how Cypress is
invoked, only that npm run cy:open starts it.
{
  "scripts": {
    "cy:open": "cypress open"
  }
}
Now you can open Cypress from your project root with:
- npm
- yarn
- pnpm
- bun
npm run cy:open
yarn cy:open
pnpm cy:open
bun run cy:open
Don't name a script cypress, especially if you use Yarn as your package
manager. When running commands on the Cypress binary (e.g. yarn cypress verify),
Yarn will reference the script of the same name instead, and
Cypress CLI commands may not work as expected.
Use a descriptive, non-ambiguous name such as cy:open or cy:run.
The Launchpad
When Cypress opens, the Launchpad is the first thing you'll see. It walks you through the decisions and configuration a new project needs (choosing a testing type, generating configuration files, and picking a browser) so you don't have to set any of this up manually. If your project is already configured, the Launchpad gets you back to your tests in a couple of clicks.
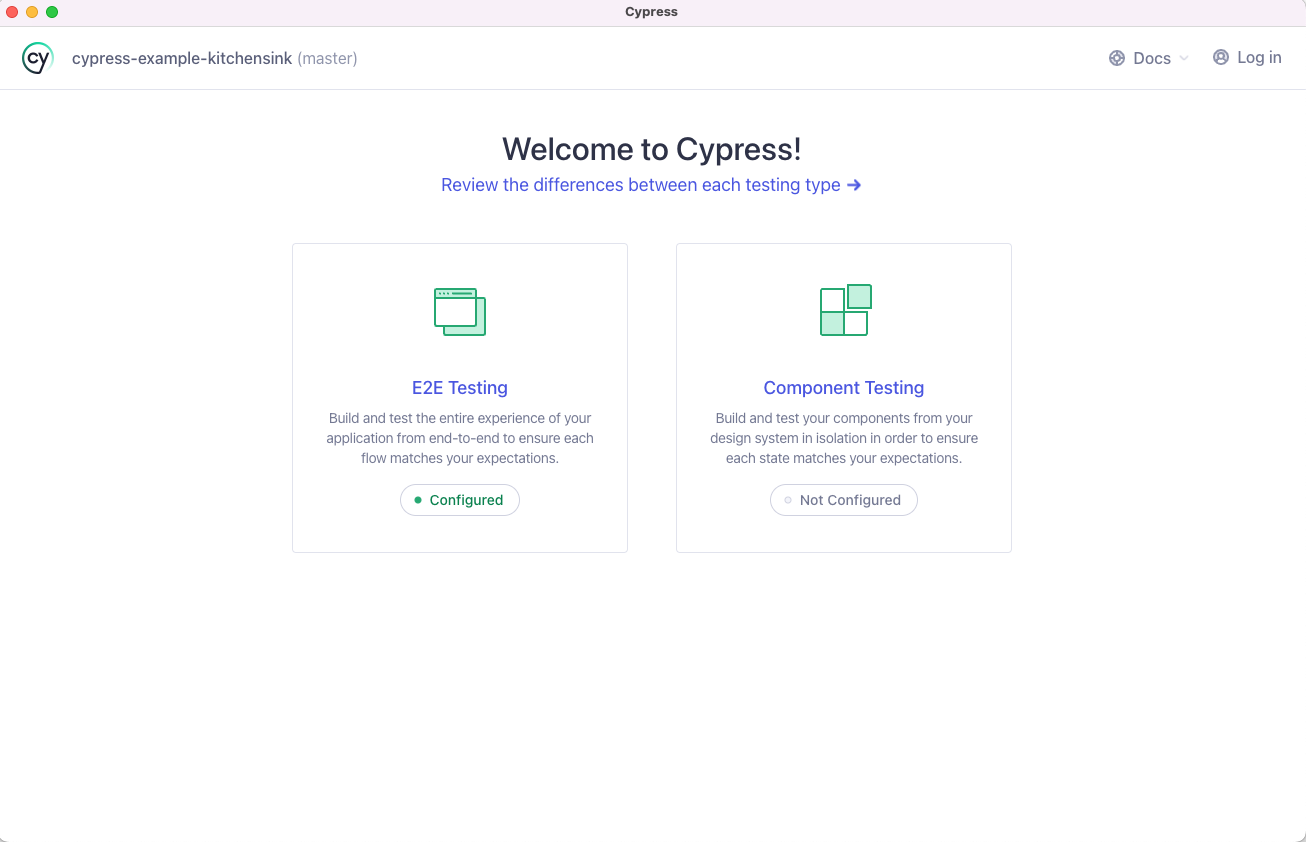
The first time you open Cypress in a project, the Launchpad takes you through the following steps in order. You'll only see this full setup once: on later opens, the Launchpad remembers your configuration, and you can skip the prompts entirely from the command line.
Step 1: Choose a testing type
The Launchpad presents your biggest decision first: what type of testing do you want to do?
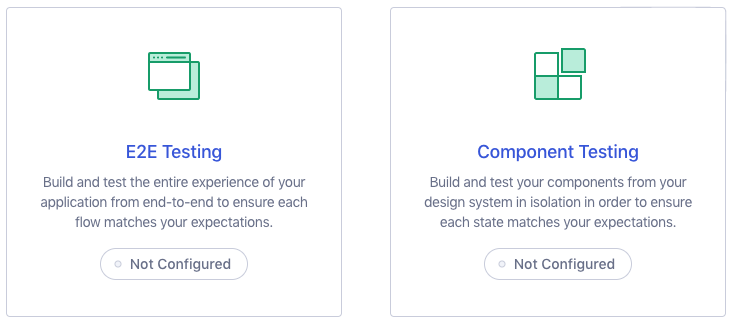
- E2E Testing runs your whole application in the browser and visits pages the way a user would. It's the best way to verify complete user journeys across your entire stack, like logging in, filling out forms, and checking out.
- Component Testing mounts individual components of your app in isolation. It's a fast, focused way to test a component's behavior across many states and props without running your whole application.
For more background on this decision, read Testing Types. If you're not sure which to pick, choose E2E Testing for now. This isn't a permanent choice, and you can set up the other testing type at any time later.
Step 2: Review the generated configuration
Next, the Launchpad generates a set of configuration files tailored to your
chosen testing type and lists each change for you to review. This scaffolding
saves you from writing boilerplate: you get a working cypress.config.js,
support files, and example fixtures without needing to know Cypress's
configuration format up front.
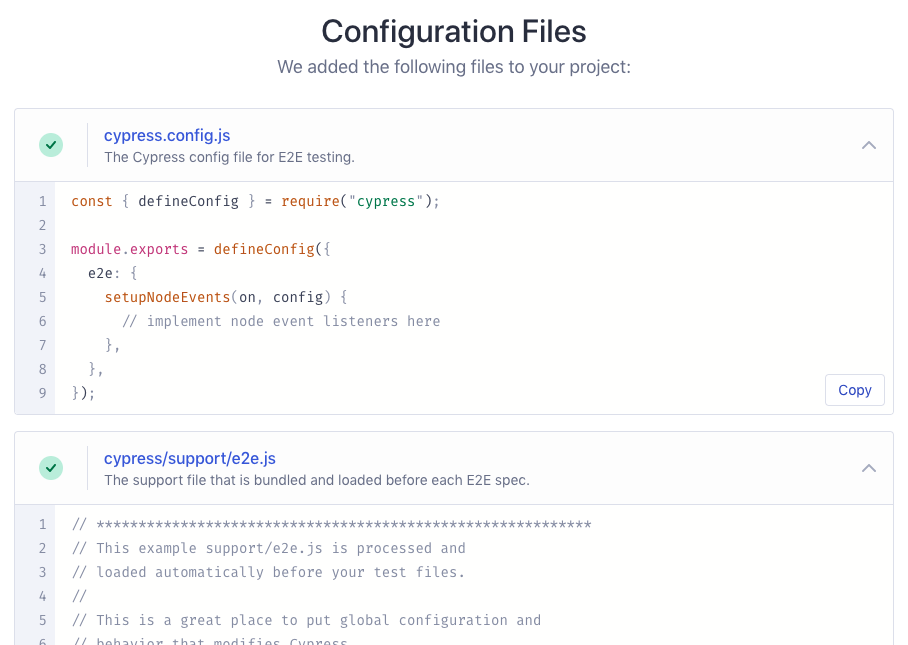
You can read about what each file does in Project structure, or scroll down and click Continue. The defaults work well for most projects, and you can adjust the configuration whenever you need to.
If you chose Component Testing, the Launchpad shows two extra screens before generating configuration files: it auto-detects your front-end framework and bundler, then verifies that the required dependencies are installed. See the Component Testing setup guide for a full walkthrough.
Step 3: Launch a browser
Finally, the Launchpad shows the compatible browsers it found on your system, including the Electron browser that ships with Cypress. Running your tests in the same browsers your users rely on gives you confidence that your app works where it matters, and you can switch browsers at any time, even in the middle of a testing session.
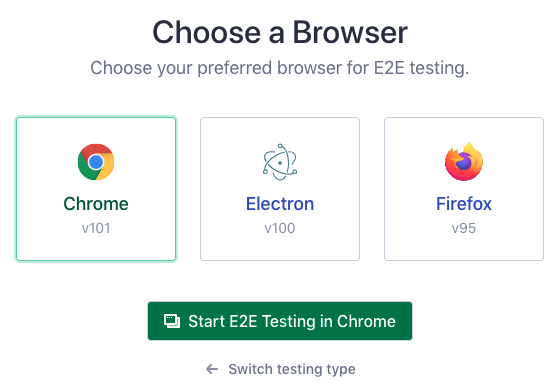
To learn more about your options here, see the guide on launching browsers. Pick a browser and click Start to begin testing.
Skip the setup prompts
Once your project is configured, you don't need to click through the Launchpad
every time. Pass the testing type and browser directly to
cypress open to land straight
on your specs:
- npm
- yarn
- pnpm
- bun
npx cypress open --e2e --browser chrome
yarn cypress open --e2e --browser chrome
pnpm cypress open --e2e --browser chrome
bunx cypress open --e2e --browser chrome
This is a handy addition to your npm scripts for the testing type you use most.
Connect the Cypress app to Cypress Cloud
You can use the Cypress app without an account. Logging in to Cypress Cloud from the profile menu in the top right connects the app to your Cloud organization and unlocks insights from your recorded runs, right inside the app:
- See run history alongside your specs. The Specs page shows each spec's latest run statuses, average duration, and flaky-test annotations, so you can spot slow or unreliable tests before you even run them.
- Review recorded runs without leaving the app. The Runs page shows your project's recorded runs, scoped to your current git branch.
- Debug CI failures locally. The Debug page surfaces failed tests from your latest recorded run, lets you re-run just those failures, and opens Test Replay so you can see exactly what happened in CI.
- Get notified when runs finish. Cloud run notifications appear in the app, and clicking one takes you straight to the run.
- Get AI assertion recommendations in Cypress Studio. As you record interactions with Cypress Studio, Studio AI watches what changes in your UI and recommends assertions for you to review and keep, so you don't have to guess what to assert after every click.
- Generate tests from natural language with
cy.prompt. Logging in lets you usecy.promptto turn plain-language steps like'click the login button'into real, executable Cypress commands, with self-healing when your UI changes. Learn more in AI Test Generation.
The run insights require your project to record runs to Cypress Cloud, and the AI features require a linked project. Setup takes a few minutes, and Cypress Cloud has a free plan to get you started.
Troubleshooting
If the Cypress app doesn't open, or a browser you expect to see isn't listed, see the troubleshooting guide and launching browsers for common fixes.
Next Steps
You're set up and ready to write your first test:
- Chose E2E Testing? Write your first E2E test.
- Chose Component Testing? Get started with Component Testing.
To get the most out of the app itself, including the Command Log, time-travel debugging, and Cypress Studio, read about Open Mode.