Cypress Cloud Organizations
An organization is the home for everything your team does in Cypress Cloud. It groups your projects, the users who work on them, the teams that control access, your billing and usage, and the integrations that connect Cypress to the rest of your toolchain.
The value of an organization is central control: instead of managing settings project by project, you administer access, AI capabilities, billing, and integrations once, in one place, and those decisions apply consistently across every project your team records to Cypress Cloud.
What you'll learn
- Why organizations are the foundation for managing application quality at scale
- How users, teams, and roles give you control over access and visibility
- How org-level AI settings and integrations connect Cypress to your workflow
- How to create, configure, and manage an organization
Why use organizations
- Group related work. Keep all of a team, business unit, or company's projects together so results, enterprise analytics, and usage roll up in one place.
- Control who sees what. Combine user roles and teams to give each person access to exactly the projects they need, no more, no less.
- Govern AI and security centrally. Turn Cloud AI on or off for everyone at once, and enforce single sign-on (SSO) so access follows your identity provider.
- Connect your existing tools. Wire up source control, issue tracking, and chat once at the org level so every project benefits from status checks, notifications, and linked tickets.
- Understand cost and usage. Track billing and usage across all projects so you can plan capacity and attribute spend.
What's in an organization
An organization brings several areas of Cypress Cloud together. Each one has its own dedicated guide:
- Projects organize your recorded runs. A new organization starts with a "Default Project" that you can rename and configure in Project Settings, and you can add as many projects as you need.
- Users and teams control who can access what. Inviting users gives them shared visibility into test health, while roles grant each person access to exactly the projects they need, no more, no less. This is what lets multiple business units share one organization, and lets you understand usage per team through Enterprise Reporting.
- Billing and usage rolls up across every project so you can review your plan, track usage, and attribute spend in one place.
- Integrations connect Cypress to the source control, issue tracking, and chat tools your team already uses, set up once and applied across every project.
Manage your organization
Create organization
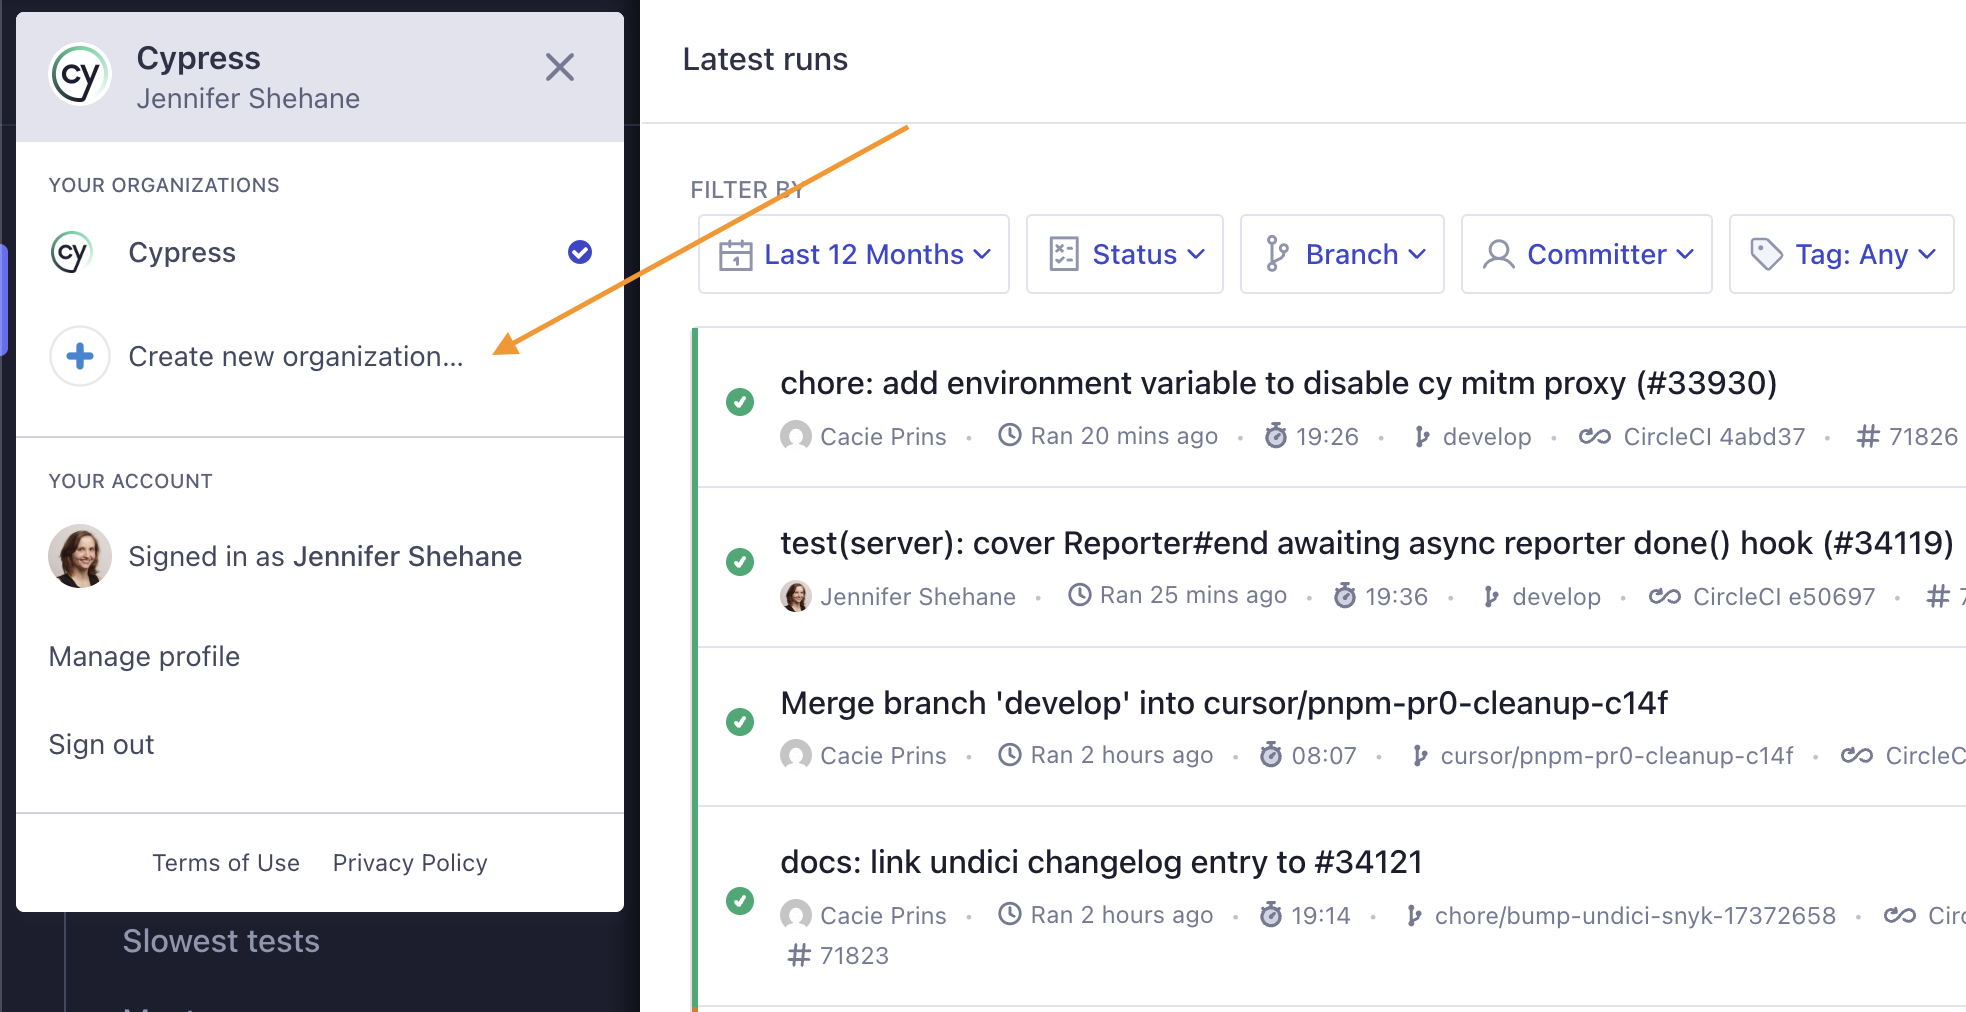
Creating an organization gives your team a shared, persistent place to record runs and review quality together, rather than scattering results across individual accounts. You can create an organization from within Cypress Cloud by opening the organization switcher and clicking Create new organization.
Organization ID
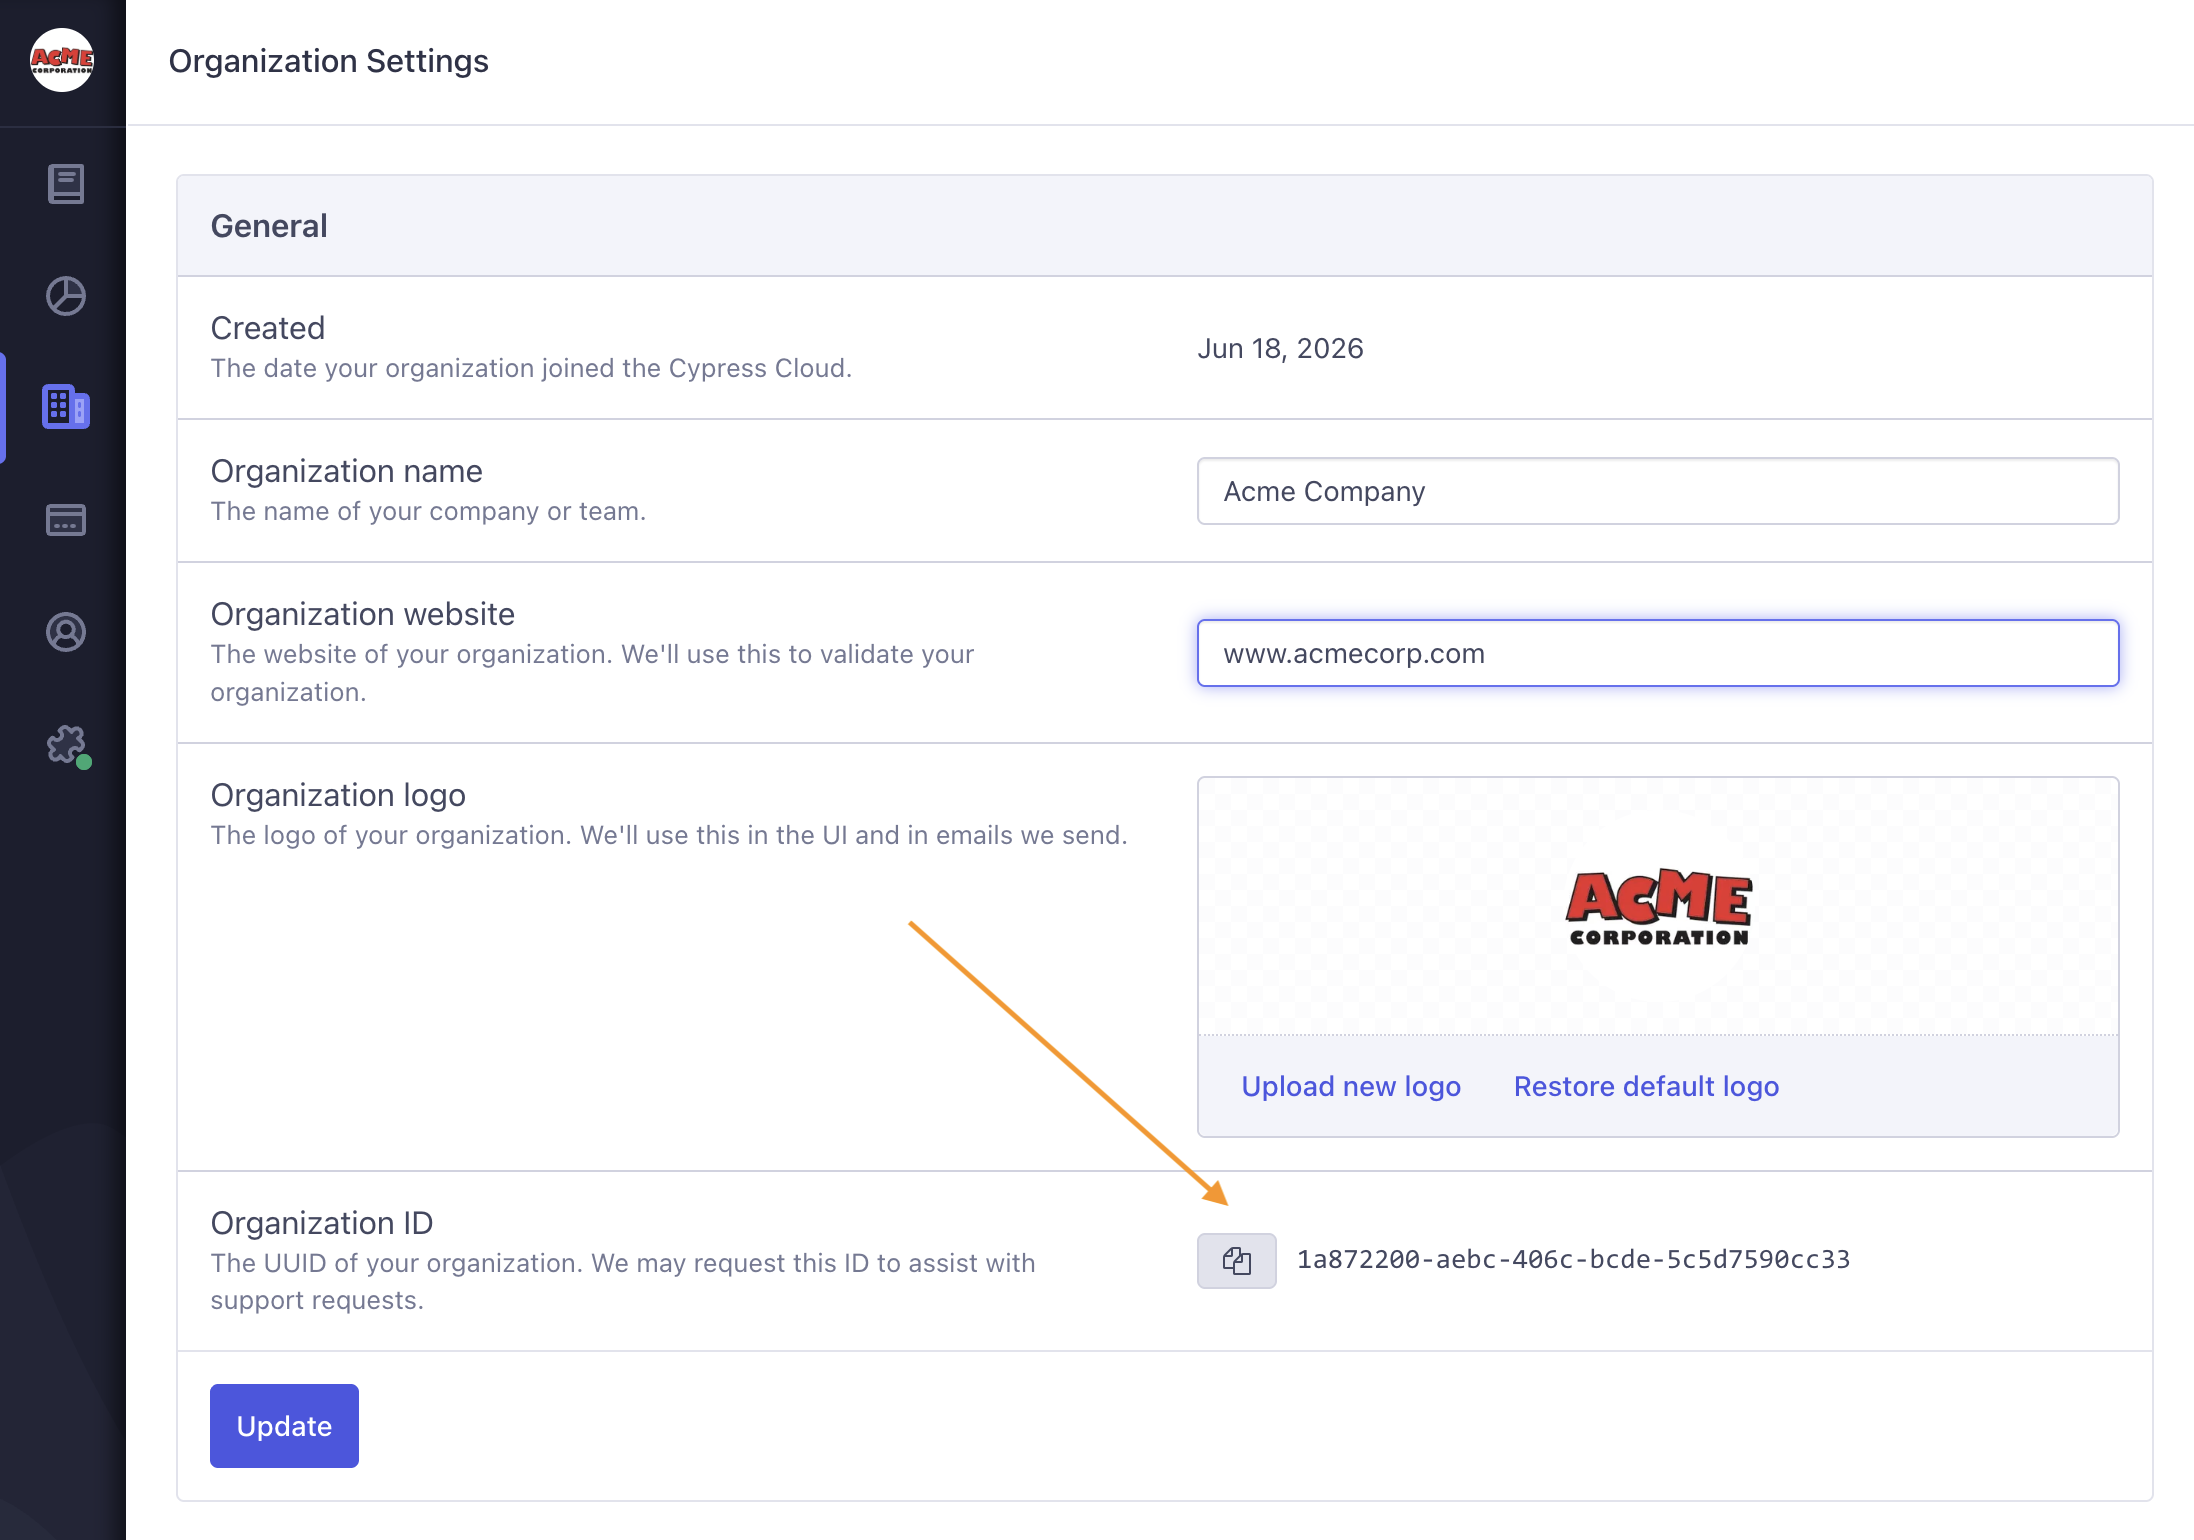
Every organization has a unique identifier. This ID is how Cypress teams reference your organization, so having it handy makes it faster to get help, report an issue, or discuss your plan.
To locate your Organization's ID, go to Organization settings then Organization ID. Click on the clipboard icon to copy the ID for easy sharing with Cypress teams.
Manage Cloud AI
Managing AI at the organization level means you make one decision and it applies to everyone. This is useful both for teams that want AI assistance everywhere and for those with policies that require it to be off.
Cloud AI is enabled by default for all users on any Cloud plan, and powers AI features like test authoring, error summaries, and test analysis. Organization admins and owners can enable or disable these AI capabilities for their entire organization from the organization settings.

Member privileges
Member privileges let owners and admins decide how much non-admin members can do at the organization level, so you can keep sensitive actions with your administrators without restricting day-to-day work.
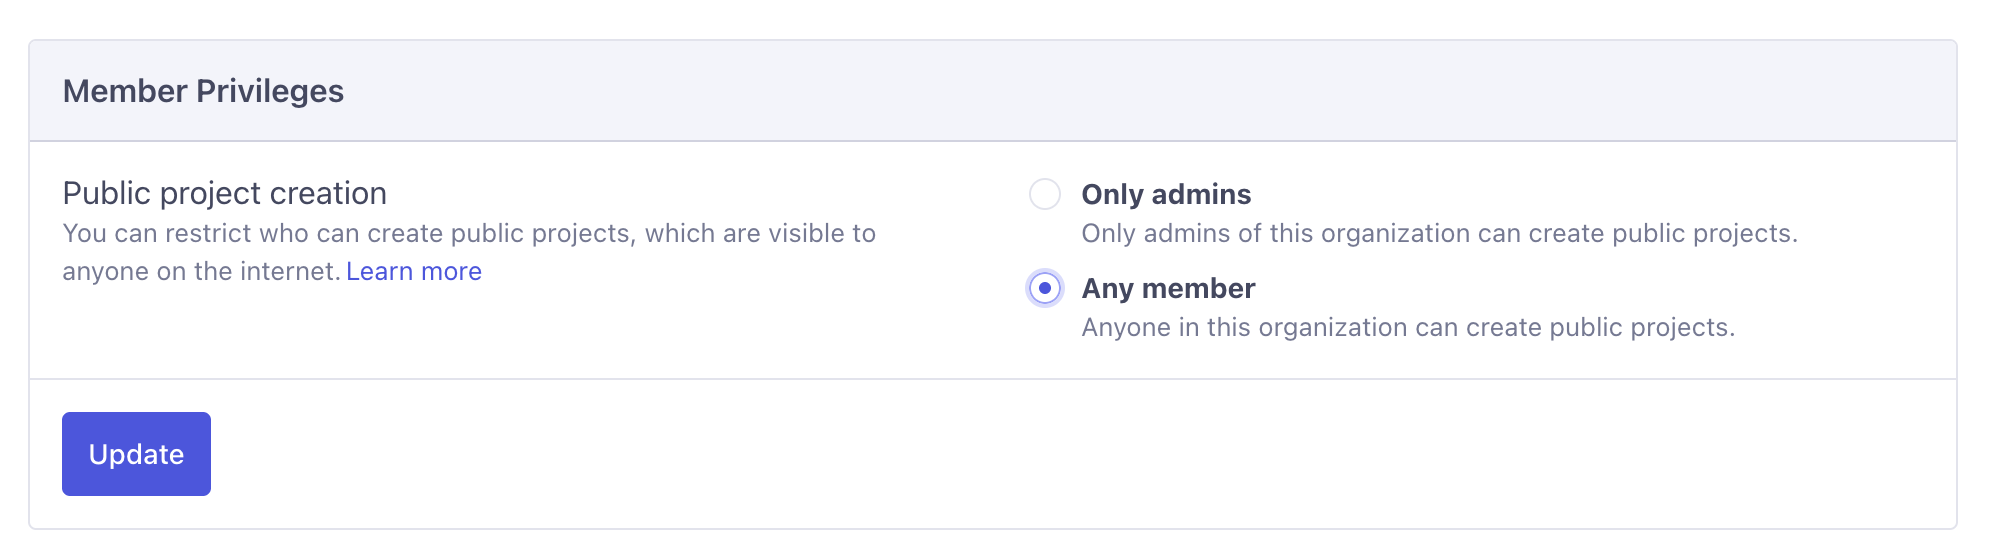
Today this controls public project creation. Public projects are visible to anyone on the internet, so you may want to limit who can create them:
- Only admins: only organization admins and owners can create public projects. Members can still create private projects, but cannot expose runs publicly.
- Any member: anyone in the organization can create public projects. This is the default.
Adjust this under Organization settings > Member Privileges, then click Update to save.
Transfer an organization to another owner
There is no single "transfer organization" button. Instead, you transfer ownership by giving the Owner role to another user in the organization. An organization can have more than one owner, so the new owner gains full control while you decide whether to keep or step back from your own access.
Only an existing owner can grant the Owner role.
- Make sure the person is already a user in your organization. If they are not, invite them first.
- Go to Users & Teams and select the Users tab.
- Find the user, edit their role, and set it to Owner.
- The user now has full owner permissions over the organization.
If you no longer want to be an owner after the transfer, the new owner (or you) can lower your role to Admin or remove you from the organization. At least one owner must always remain.
Delete organization
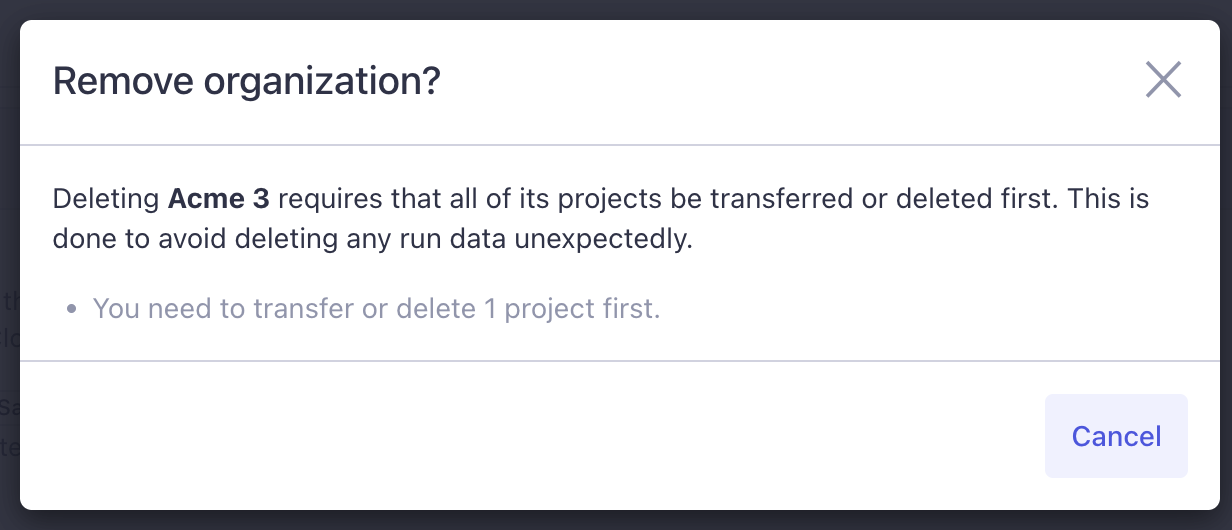
When an organization is no longer needed, removing it keeps your Cypress Cloud account tidy and ensures projects live where they belong. You can delete organizations that you own as long as they do not have any projects or an active subscription. You must first delete or transfer ownership of your projects to another organization before you can delete the organization.
An organization with an active subscription cannot be deleted. If you need to delete an organization that still has an active subscription, contact [email protected].
Integrations
Integrations are where an organization delivers value beyond Cypress Cloud itself: by connecting the tools your team already uses, your test results, flaky test insights, UI Coverage, and Accessibility findings show up where work actually happens. Set integrations up once at the org level and every project benefits: failing code is kept out of your main branch, failures are linked to tickets, and the right people are notified automatically.
Owner and admin roles can configure these under Organization > Integrations, and adjust the settings from within the Project settings page.
Cypress Cloud integrates with AI coding assistants, enterprise data and reporting, source control providers, issue management, team communication, and single sign-on (SSO). Explore the guides for each below to learn how to set them up.
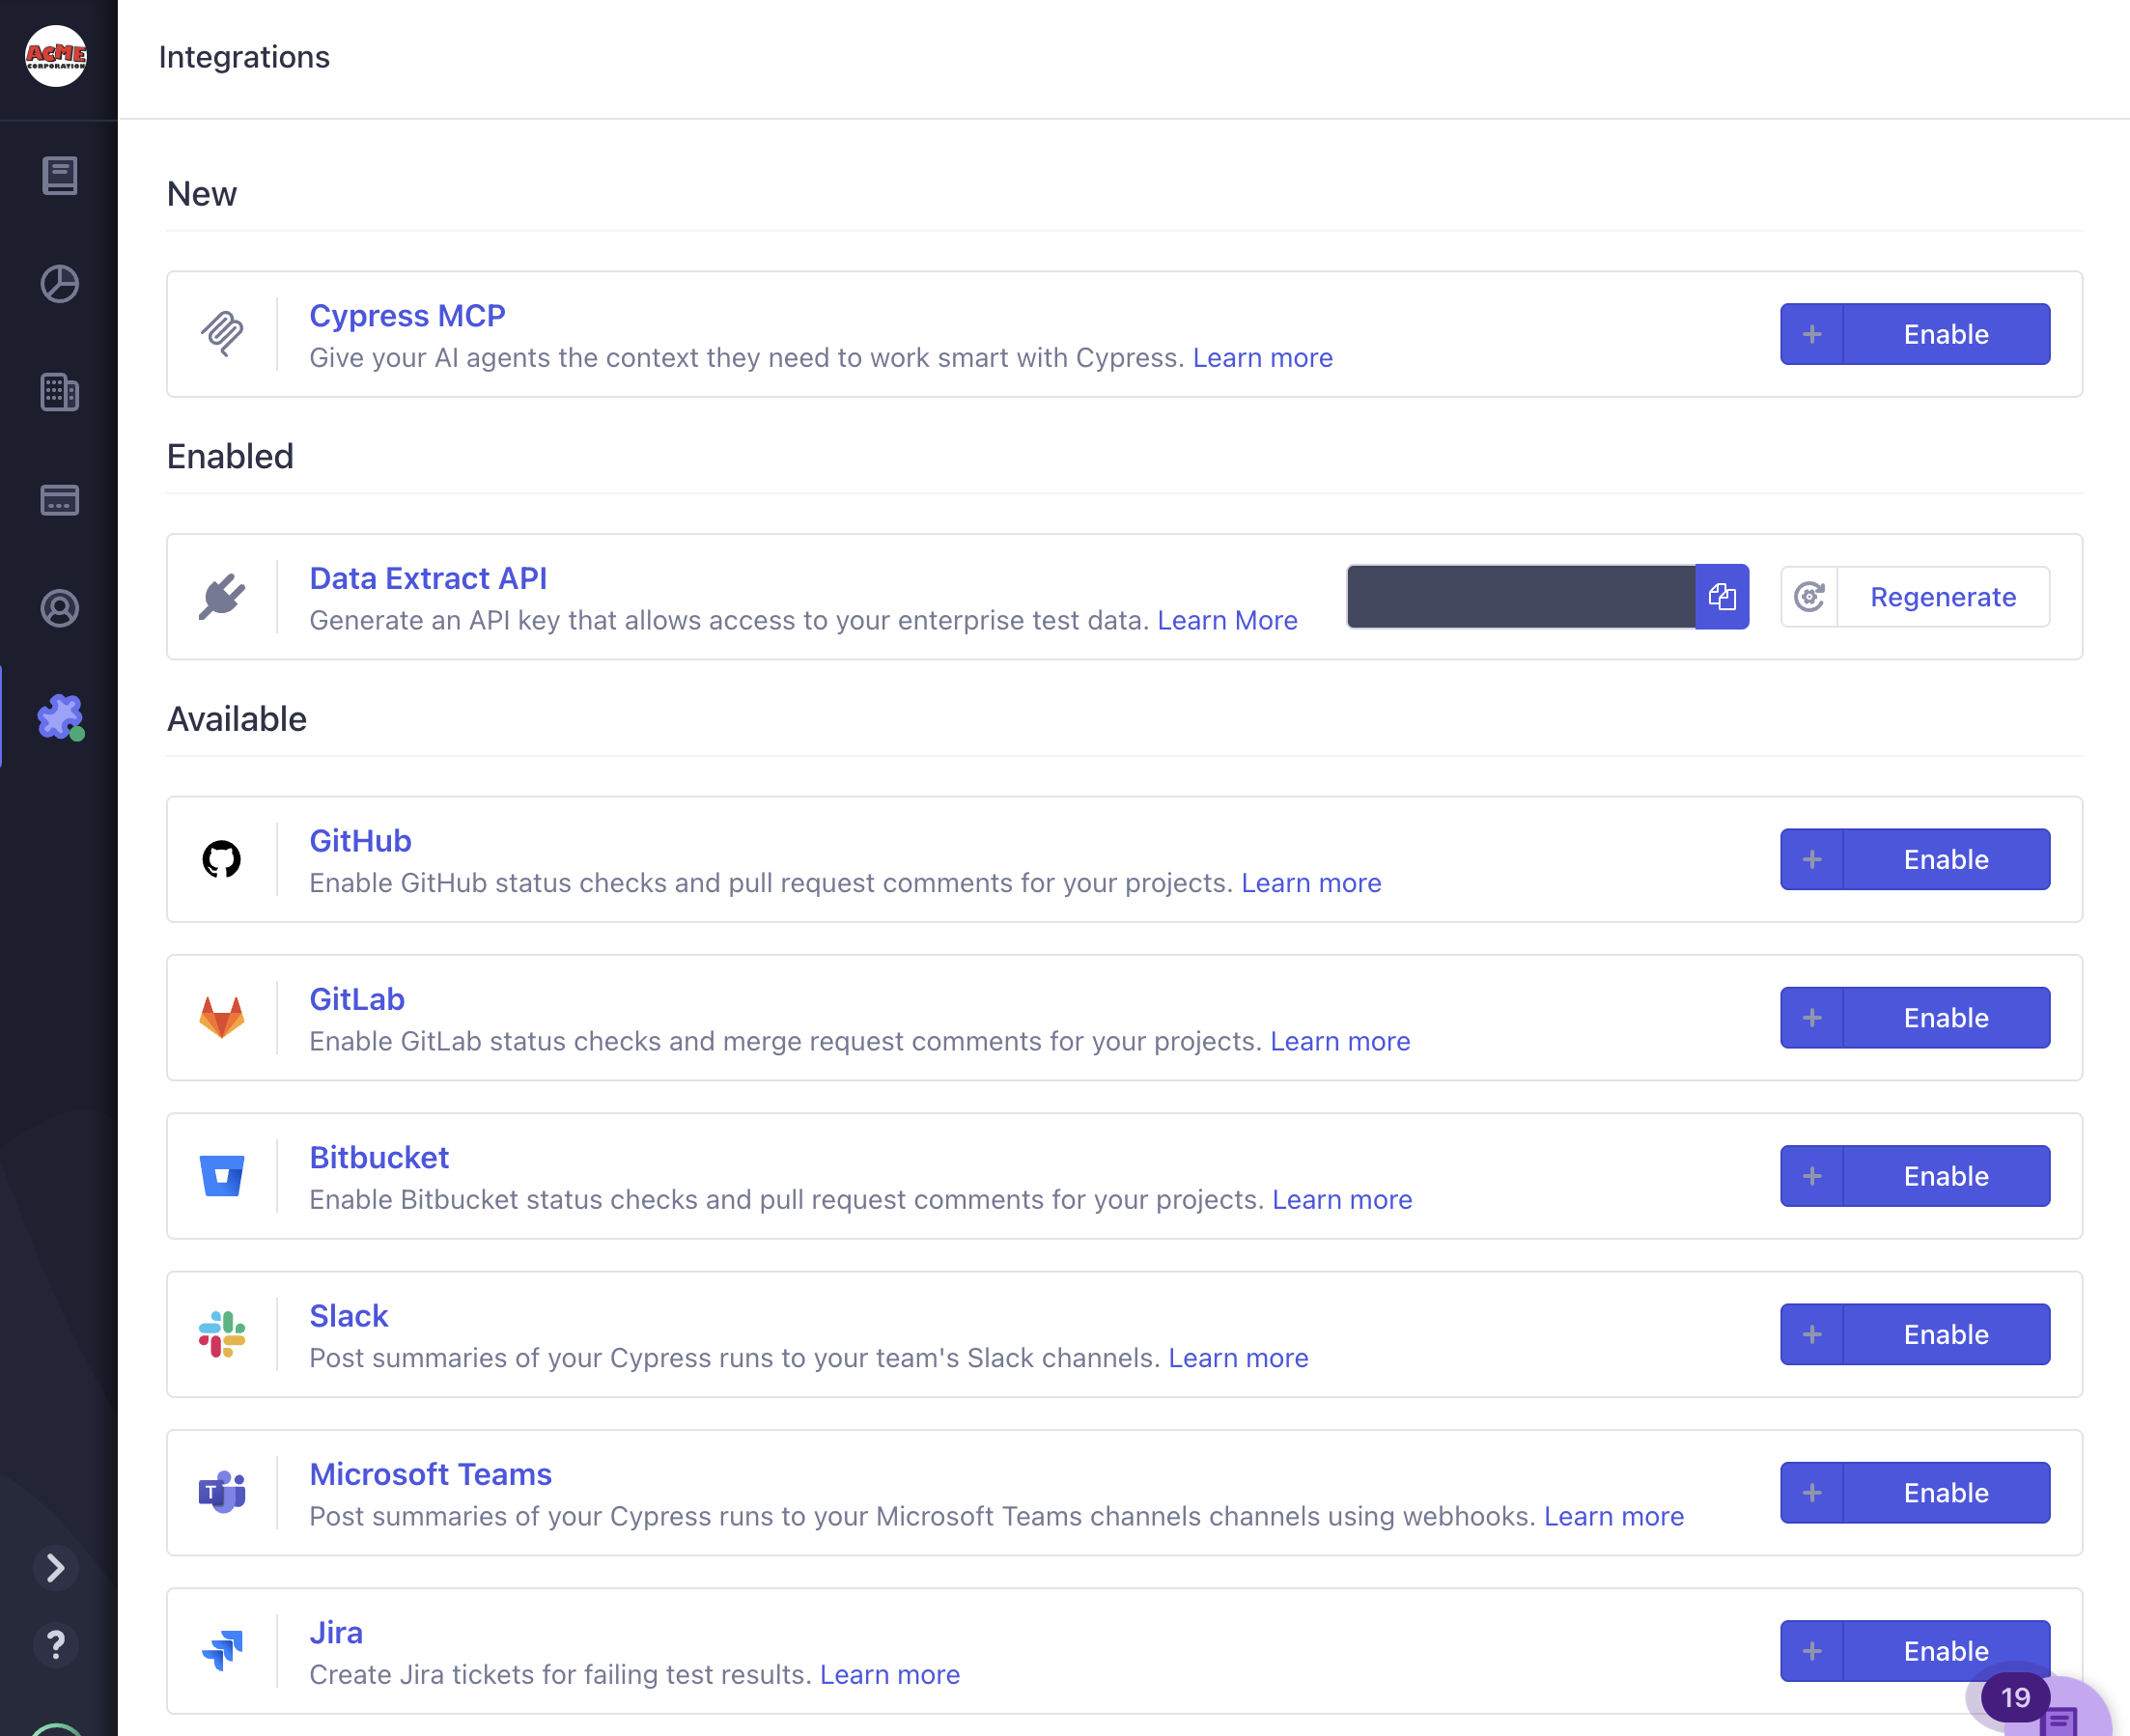
AI coding assistants
Give your AI coding assistants and agents real-time context on your application's health by connecting them to the Cypress Cloud MCP server, so they can query run results, analyze failures, and audit flaky tests without manual copy-paste.
Pair Cloud MCP with Cypress AI Skills, ready-made instruction sets that teach your AI tool common Cypress workflow patterns, so it writes and debugs tests the Cypress way.
Enterprise data and reporting
Generate an API key to pull your enterprise test data, such as run status, spec results, run durations, and flaky test rates, into your own reporting and business intelligence tools.
Source control providers
Connect your repository to surface test results directly in pull requests and block failing code from merging with status checks, so regressions are caught before they reach your main branch.
 GitHub integration guide
 GitLab integration guide
 Bitbucket integration guide
- GitHub Enterprise integration guide
- GitLab for Enterprise integration guide
Issue management
Turn test failures into tracked, actionable work by creating bidirectionally linked tickets, so nothing slips through the cracks.
Team communication
Keep your team informed in real time by sending run progress and results to the channels they already watch, so failures get attention without anyone refreshing a dashboard.
Single Sign-On (SSO) authentication
Enforce access through your existing identity provider so the right people get in, offboarding is automatic, and you meet your organization's security requirements.
See also
- Manage users - invite users and configure roles and permissions
- Manage teams - control which users can access which projects
- Manage projects - configure project settings, record keys, and access
- Billing & Usage - review your plan, usage, and billing
- Single Sign-On (SSO) - configure single sign-on for your organization
- Organization FAQ - answers to common questions about organizations